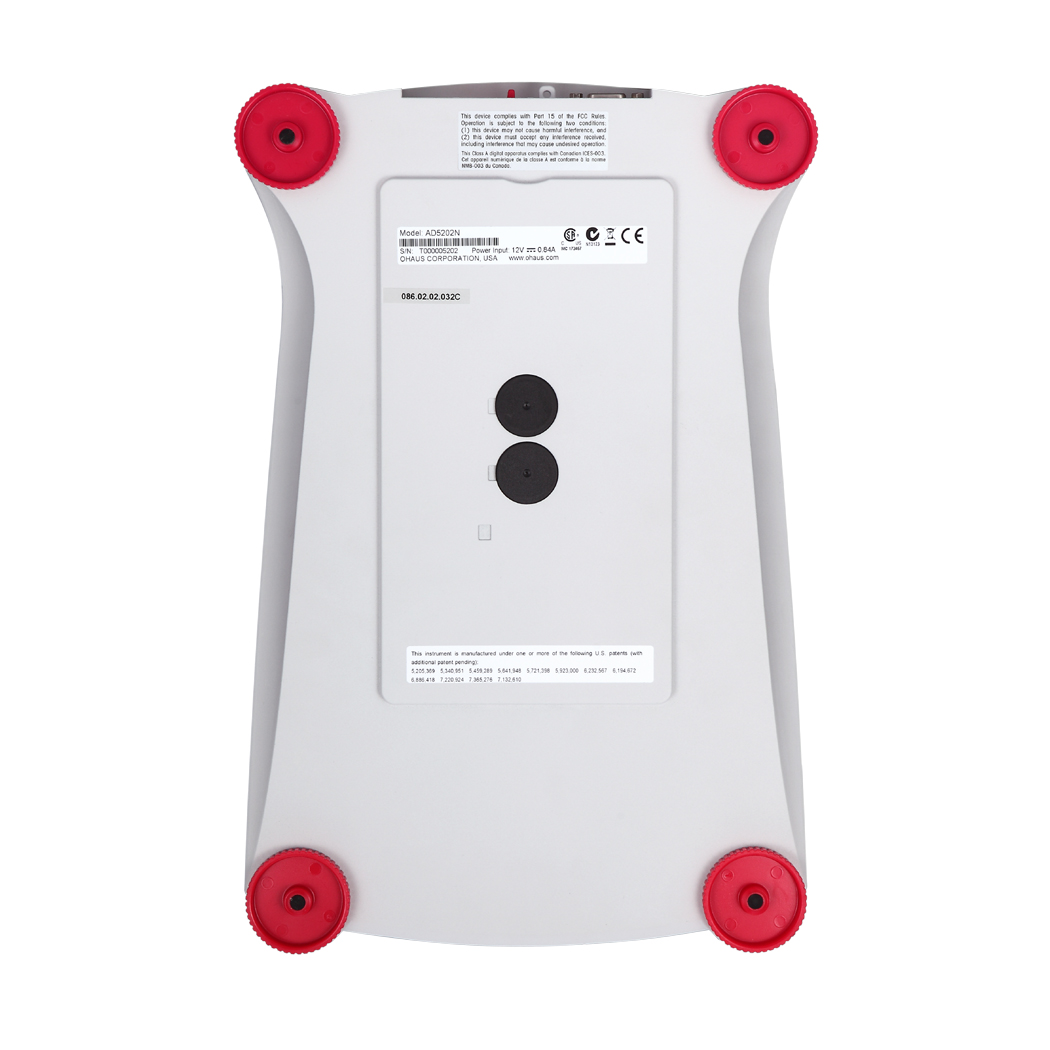
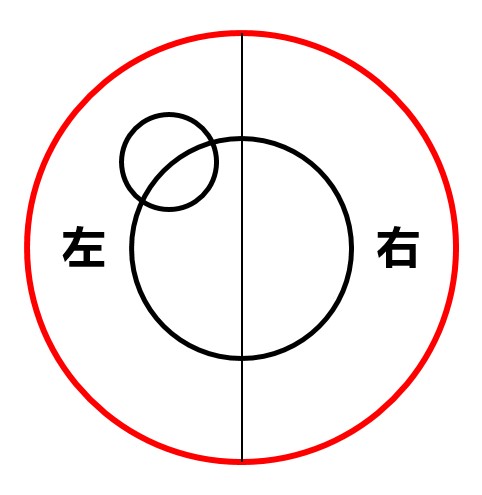
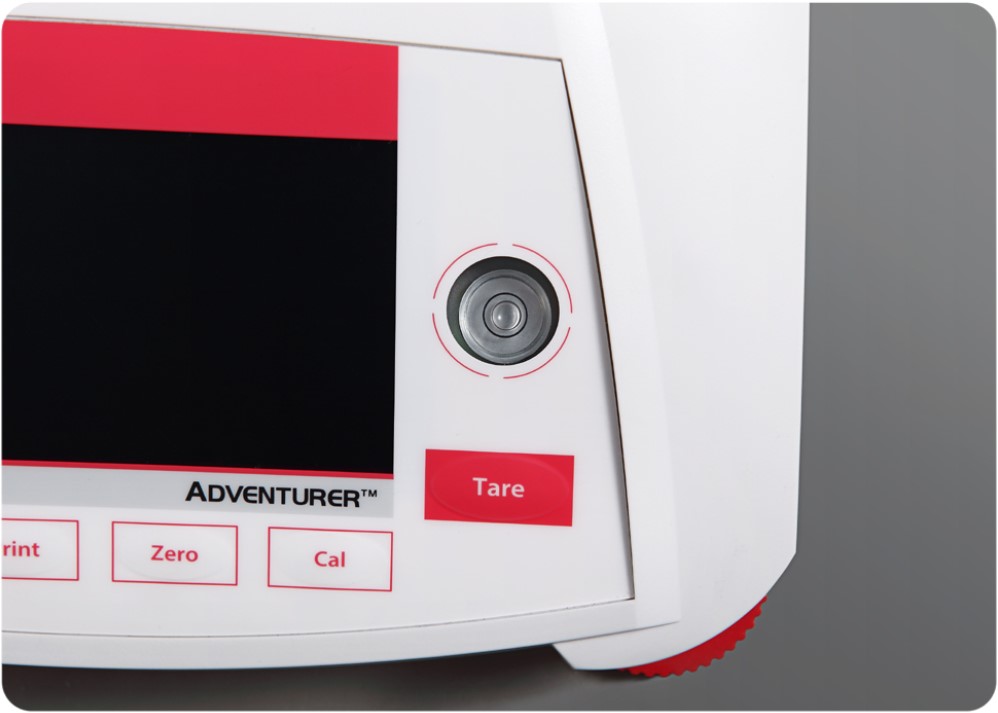
Do you still remember? In the last time about the sharing of electronic balance knowledge, Xiaobian made an easy-to-understand and meticulous explanation for the problem of the “least weighing value†that is not easy to understand. It should all solve most of the hearts of everyone. Doubt. In fact, in order to ensure the accurate weighing of electronic balances, how to properly adjust, calibrate and use them is a key issue, and “horizontal adjustment†is an extremely important step in the preparation work before weighing, and also ensures accurate weighing. The initial premise. Why do you want to "level up"? As a precision weighing instrument with high precision, fast response and convenient reading, the electronic balance is extremely demanding on the environment. In order to achieve accurate weighing, in an ideal situation, the gravity of the measured object should be completely perpendicular to the balance sensor lever, and in the actual weighing process, the weighing error will be generated due to the uneven placement position. The bigger. This is because in the non-level state, the gravity and the sensor produce an angle, which generates a component force and brings a weighing error. Electronic balances have an error standard in a tilted state, and exceeding a certain slope affects the accuracy of the weighing result. In order to reduce the weighing error, the level adjustment before using the balance becomes an indispensable part of the weighing preparation work. "Level adjustment" two steps Electronic balances typically have two or four horizontal feet. Just turn these leveling feet to adjust the level. There is a horizontal bubble in the front or rear of the electronic balance, which must be in the center of the black coil, otherwise the weighing will be inaccurate. After adjustment, try not to move, otherwise the horizontal bubble may be offset, you need to re-adjust. Leveling level at the bottom of the balance Step: first bubble level to adjust black circle bubble center line Rotate a left or right leveling leveling foot separately, that is, adjust the inclination of the balance to adjust the horizontal bubble to the center line. For users who use the balance for the first time, judging which level of leveling is the key to the problem. There is a simple way to judge, first manually tilt the balance slightly, so that the horizontal bubble reaches the center line, then look at the height of the horizontal adjustment foot on the left and right sides, adjust the height of one of them, you can keep the horizontal bubble in the center line . Small series proposed here, after the bubble level to achieve a center line, a next step can be carried out. Horizontal bubble diagram (the upper | is the central line) Step Two: holding blisters moved in center line, eventually reaching the central black circle At the same time, rotate the two leveling feet at the front or the back, remember that the amplitudes of the two hands must be the same, and both must be clockwise or counterclockwise, then the inclination of the balance remains the same, let the horizontal bubble move along the central line, and finally Arrive in the center of the black circle. If the amplitude of the two hands is inconsistent, the horizontal bubble will be offset from the center line. Once offset, you need to start over from the first step. A skilled operator can level the horizontal bubble of an electronic balance in 1 to 2 minutes. Note: The above method of level adjustment applies to the average of two or four level feet, and the main difference is that the balance of the four level feet is more flexible than the former because of the many knobs involved in the adjustment. fast. Tips you must know A. Relationship between horizontal bubble and horizontal adjustment Air bubble toward which side, indicating that the high side that should be rotated counterclockwise so as to reduce the level adjusting legs. The horizontal foot rotation rule is: clockwise - raised; counterclockwise - lowered B. Hands adjust tactics Rotate the leveling feet with both hands at the same time, one hand to the chest and one hand to the chest, in the opposite direction. Arations sequence of C. Before the electronic balance is energized, we have to adjust it to the level. When the horizontal bubble is adjusted to the middle of the center of the circle, it can be energized and warmed up. Don't forget that the new balance should be warmed up for at least 1 hour! Impeccable Ohaus AX electronic balance How about, listening to Xiaobian said so much, do you remember the adjustment methods and rules? Do you want to wait and see what you can do? If you don't remember it, don't worry. Then follow the Xiaobian to see how the Ohaus Adventure AX series electronic balance is done. Maybe there will be a new harvest~ The Adventurer AX series of electronic balances are equipped with a 4.3-inch full-color touch screen display and a front USB flash drive reading interface. The overall air-saving hood design meets all the weighing needs in the laboratory! Next, everyone will polish your eyes, the key point is, for the level adjustment problem that everyone cares about, AX balance is designed with unique hardware and software to help beginner users master all the method skills in a short time, and teach you how to quickly and easily Play the level adjustment! If you don't believe it, just take a look at the video below~ (https://v.qq.com/x/page/v0552e4j202.html) A. Four horizontal foot design Breaking the limitation that the two horizontal adjustment feet can only be adjusted on one side, you can flexibly adjust the horizontal adjustment knob of any corner according to the position of the horizontal bubble, making the whole process easier and faster; B. Horizontal adjustment diagram In weighing interface "parameter setting" mode select "level adjustment of" appears along with the bubble level for eight kinds of possible positions and adjusting a direction corresponding to a horizontal adjustment pin on the screen, simply Refer to the schematic diagram to operate; C. Air bubble automatic backlit When the “level adjustment diagram†is turned on, the balance automatically lights up the horizontal bubble backlight, which does not affect the adjustment in the dark environment! How is the method of level adjustment becoming very simple, have you learned? Is there a strong interest in the Adventurer AX series of electronic balances? If you would like to know more about AX series balances and other Obra family products, or are looking for more professional and detailed selection guide, please call 4008-217-188, or click to enter "Request Information" and leave Related information, our professional engineers will contact you in the first time! Shanghai J.Shine Co.,Ltd , https://www.jshinechem.com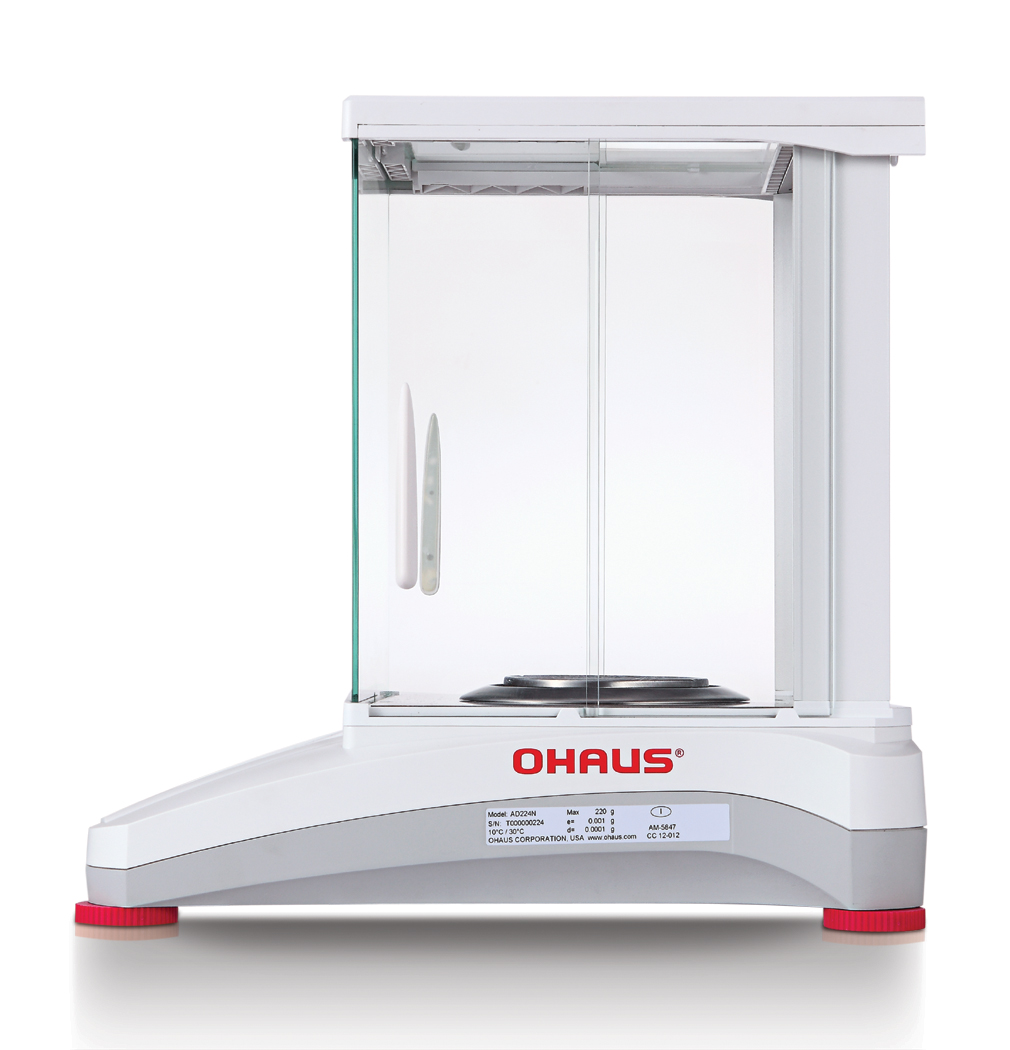

“Do you really understand the electronic balance?†2 – “Level adjustment†that cannot be ignored